Short version:
- A professional roof inspection includes exterior, interior, and drainage checks to identify leaks, wear, and storm damage before they worsen.
- Repairs typically follow a documented assessment, with targeted fixes addressing shingles, flashing, or membrane issues rather than full replacement when possible.
- Homeowners in Jacksonville, FL can expect inspections to focus on wind resistance, humidity-related wear, and storm damage common to the region’s climate.
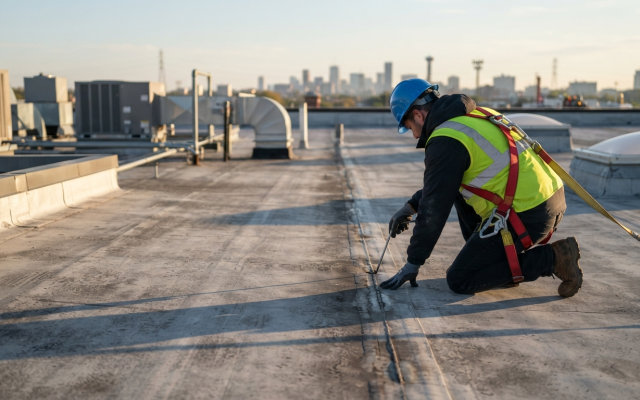
A professional roof inspection thoroughly assesses a home’s roofing system, including the exterior surface, attic or interior spaces, and drainage components, to identify damage before it causes leaks or structural issues. Hiring a qualified Roofer in Jacksonville, FL ensures a more detailed inspection than a quick look from the ground, helping homeowners identify hidden roofing problems that may only become visible on closer inspection.
Understanding what happens during this process helps homeowners set realistic expectations and recognize whether a contractor is following accepted industry practices.
How a Roof Inspection Typically Proceeds
Inspectors generally move through a defined sequence rather than a random walkthrough. According to guidance published through the National Roofing Contractors Association, biannual inspections are intended to catch cracked, warped, or missing shingles; loose seams and deteriorated flashings; excessive surface granules accumulating in the gutters or downspouts; and other visible signs of problems. Indoors, the same guidance notes that inspectors look for cracked paint, discolored plasterboard, and peeling wallpaper as signs of damaged roof areas.
A typical inspection includes:
- Exterior surface review of shingles, tiles, or metal panels for cracking, curling, or granule loss
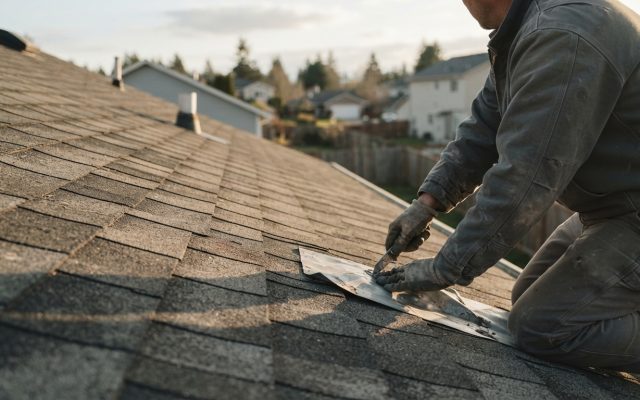
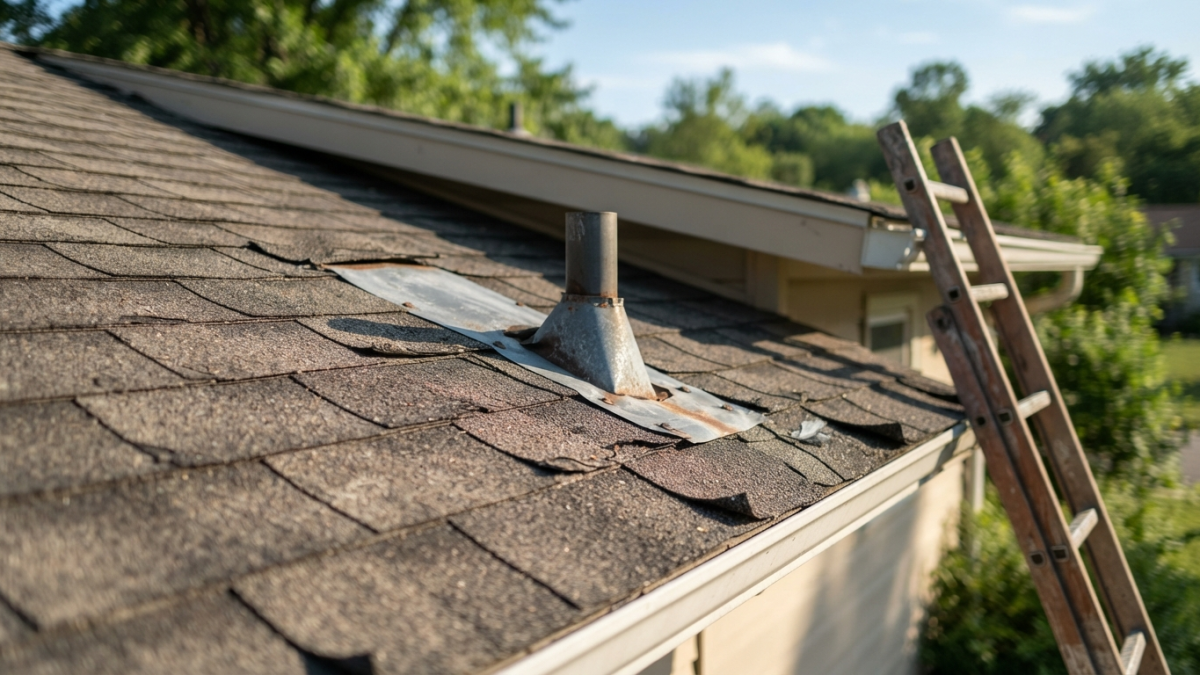
- Flashing checks around chimneys, vents, and skylights
- Attic or interior inspection for moisture stains, mold, or ventilation issues
- Drainage evaluation of gutters, downspouts, and roof slope
- Documentation with photos to support any repair or insurance claim
One technical services expert quoted in the same NRCA-sourced article emphasized the value of thorough, hands-on review: “Get on and walk the roof; one can never take too many photos, and be safe. A roof cannot be truly inspected from the ground or a ladder.”
What Happens After the Inspection
Once an inspection is complete, the contractor should provide a written summary of findings. This typically separates issues into categories such as immediate safety concerns, moderate wear requiring near-term repair, and cosmetic items that can wait.
Common next steps include:
- Reviewing photo documentation with the homeowner
- Identifying whether damage is isolated or systemic
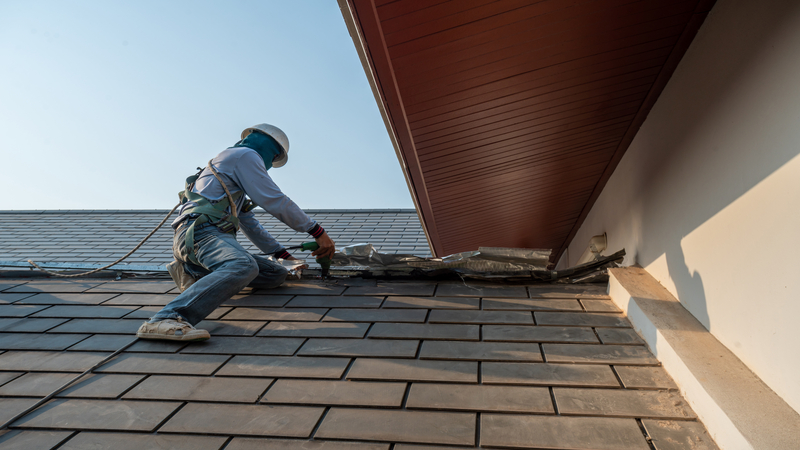
- Determining if a patch repair is sufficient or if a section needs replacement
- Checking manufacturer warranty terms, since some require documented inspections to remain valid
- Scheduling repair work based on severity and weather conditions
Materials matter during this stage. Tile roofing, for example, requires extra care because, as the NRCA-sourced guidance notes, tile is heavy, so those who replace another type of roof covering with tile need to verify that the home can support the added load.
Repair Scope and Material Considerations
Repairs vary widely depending on the roofing material and the extent of damage found during inspection. A single cracked tile is handled differently than widespread granule loss on asphalt shingles, and flashing repairs around a chimney differ from a full section replacement after storm damage.
| Repair Type | Typical Trigger | General Scope |
|---|---|---|
| Spot shingle repair | Isolated wind or impact damage | Replace individual shingles, reseal edges |
| Flashing repair | Leaks near chimneys, vents, skylights | Reseal or replace flashing material |
| Tile repair | Cracked or dislodged tiles after storms | Replace individual tiles without disturbing the full field |
| Full section replacement | Widespread wear or structural concerns | Remove and rebuild a larger roof area |
In Jacksonville, FL, humidity, heavy rain, and seasonal storm activity make flashing and drainage issues a frequent finding during inspections. Homeowners in this region often schedule inspections after major storm events specifically to document wind or water damage for insurance purposes.
Heritage Roofing of North Florida is a roofing contractor operating in the Jacksonville, FL area that offers inspection and repair services for residential properties, according to its Heritage Roofing of North Florida business listing.
Frequently Asked Questions
How long does a typical roof inspection take? Most residential inspections take between 30 minutes and two hours, depending on roof size, pitch, and whether attic access is included.
Can a roof be inspected without climbing on it? Ground-level or drone inspections can identify obvious issues, but close physical inspection is generally considered more reliable for spotting smaller defects like cracked flashing or granule loss.
Does a manufacturer warranty cover inspection costs? Warranty terms vary by manufacturer and product line, so homeowners should review their specific warranty documentation rather than assume inspection costs are included.
How often should a roof be inspected in Jacksonville, FL? Twice-yearly inspections are a widely cited general guideline, though homeowners in storm-prone areas like Jacksonville, FL often add an inspection after major weather events.
Final Notes
Roof inspections and repairs follow a structured process designed to catch problems early and document conditions accurately for maintenance or insurance purposes. Published details for Heritage Roofing of North Florida cover the service area in Northeast Florida.