
An electric vehicle can make daily driving quieter, cleaner, and less dependent on gas stations. Charging at home adds convenience, but installing a charger involves more than choosing a spot on the garage wall. If you’re researching EV charger installation in McKinney, TX, it helps to understand charger levels, electrical capacity, permits, placement, and the steps involved before work begins.
Choosing the Right Charger
Most homeowners compare Level 1 and Level 2 charging. A Level 1 charger plugs into a standard 120-volt outlet and may work for drivers with short commutes or plenty of time to recharge. However, it typically adds range slowly, so it may not replenish a battery overnight after a longer drive.
A Level 2 charger uses a 240-volt circuit, similar to the power supply used by some household appliances. It can charge considerably faster, making it a practical option for many households that drive regularly. The right choice depends on your vehicle, daily mileage, battery size, and how long the car is usually parked at home. Check your vehicle’s charging specifications and consider your routine before selecting equipment.
You’ll also want to decide whether a hardwired unit or a plug-in model suits your setup. A hardwired charger is permanently connected to the home’s electrical system. A plug-in charger connects to a properly installed outlet, which may offer flexibility if you move or replace the equipment. Either approach must be compatible with the charger’s requirements and installed safely.
Assessing Your Electrical System
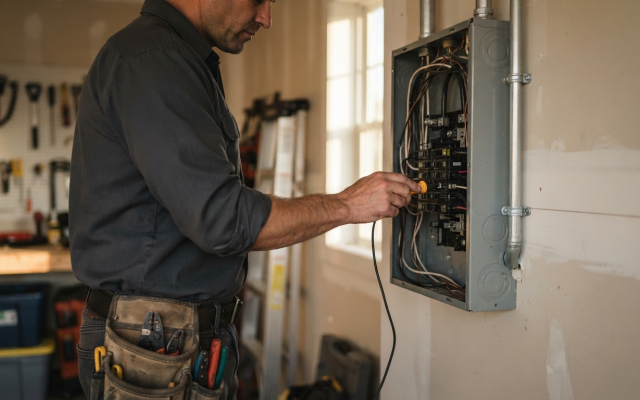
Before installation, an electrician should evaluate the home’s electrical panel and the route from the panel to the parking area. A Level 2 charger needs a dedicated circuit, and the circuit’s rating must match the equipment and applicable electrical requirements. The assessment can identify whether the panel has sufficient capacity or whether upgrades or other adjustments may be necessary.
Homes differ widely. A newer panel may have room for an additional circuit, while an older or heavily loaded system may require more planning. The distance to the garage, wall access, and whether wiring must pass through finished spaces can also affect the scope of the work. Ask for an explanation of any proposed upgrades, including why they are needed and how they affect the project.
It is useful to gather a few details before requesting an estimate: your vehicle’s make and model, the charger you’re considering, the location of the electrical panel, and where you park. Photos of the panel and proposed charging location may help an electrician prepare for an initial conversation, although an on-site evaluation may still be needed.
Permits, Codes, and Safe Installation
Electrical work should meet current local requirements and the charger manufacturer’s instructions. Depending on the project, permits and inspections may apply. Confirm who will handle the permitting process and whether inspection is included in the installation plan. Local requirements can change, so homeowners should rely on the relevant authority and a qualified electrical professional rather than assuming a particular approval is unnecessary.
A proper installation includes more than connecting a charger. The circuit must be appropriately sized and protected, wiring must be suitable for its location, and equipment exposed to weather needs the correct rating. The charger should also be mounted securely, with the cable positioned to reduce trip hazards and avoid strain.
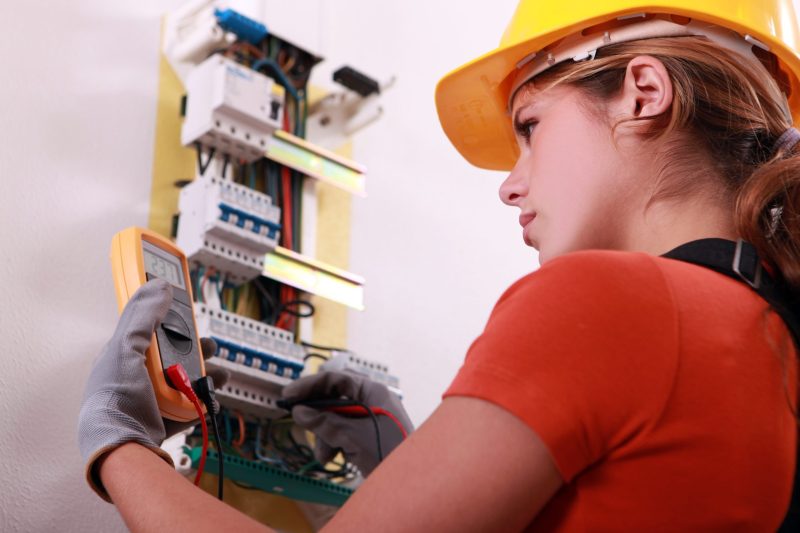
Do not use an extension cord as a workaround for a charger that is too far from the vehicle. Nor should you install a 240-volt circuit yourself unless you are qualified and authorized to do the work. Electrical mistakes can create shock, fire, equipment-damage, or code-compliance risks. Professional installation helps ensure the system is designed and tested for regular use.
Planning the Charging Location
Choose a spot that is convenient for the vehicle’s charge port and close enough for the charging cable to reach without stretching across a walkway. Consider whether you may park a second vehicle in the future, and keep the charger clear of doors, storage, and areas where it could be struck.
For an outdoor installation, discuss weather exposure, mounting, and cable storage. A garage installation may provide more protection, but it still needs a sensible cable route and adequate clearance. If you expect to add another electric vehicle later, ask whether planning for future capacity now could reduce the need for additional electrical work.
Costs and Preparation
Installation costs vary according to the charger, electrical panel capacity, wiring distance, accessibility, and any required upgrades. Request an itemized estimate that separates equipment, labor, permitting, and additional electrical work. This makes it easier to compare proposals and understand what is—and is not—included.
Before installation day, clear access to the panel and charging location, confirm where the vehicle will be parked, and have the charger’s instructions available. After the work, ask the installer to demonstrate operation, explain any indicators or controls, and provide documentation for the equipment and completed work.
A Practical Home-Charging Plan
A reliable home charger starts with matching the equipment to your driving needs and confirming that your electrical system can support it. Plan the location carefully, verify permit and inspection requirements, and have the circuit installed and tested by a qualified professional. With those details addressed, you can charge more conveniently at home while making a safer, well-informed investment in your vehicle and property.